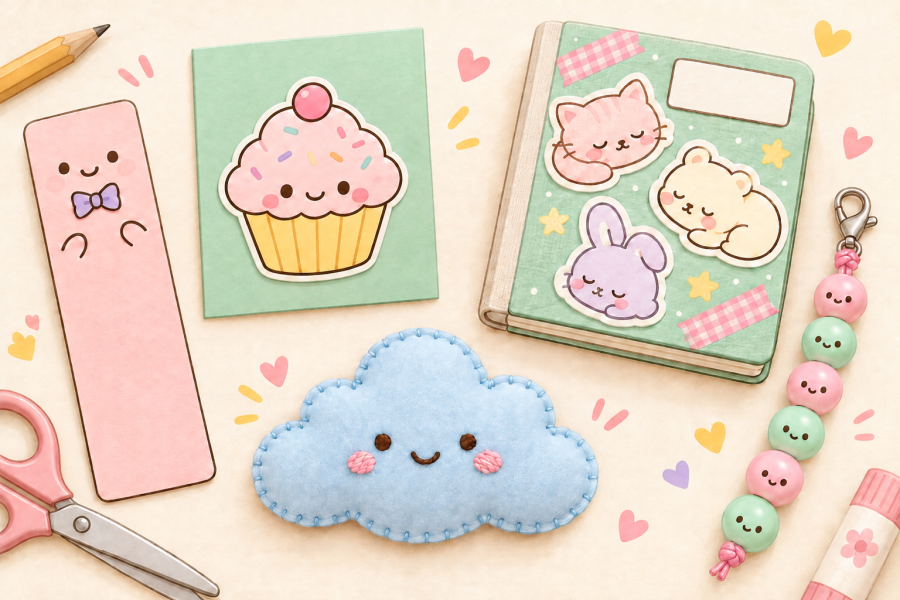
Try eight creative kawaii sticker activities for kids, from storytelling and bookmarks to matching games, handmade cards, and travel journals.
Fun Kawaii Sticker Activities for Kids
You don’t need expensive craft kits or complicated instructions. A few sticker sheets, some paper, and everyday supplies are enough for several projects.
Here are some ideas that go beyond simply decorating notebooks.
1. Create a Sticker Story
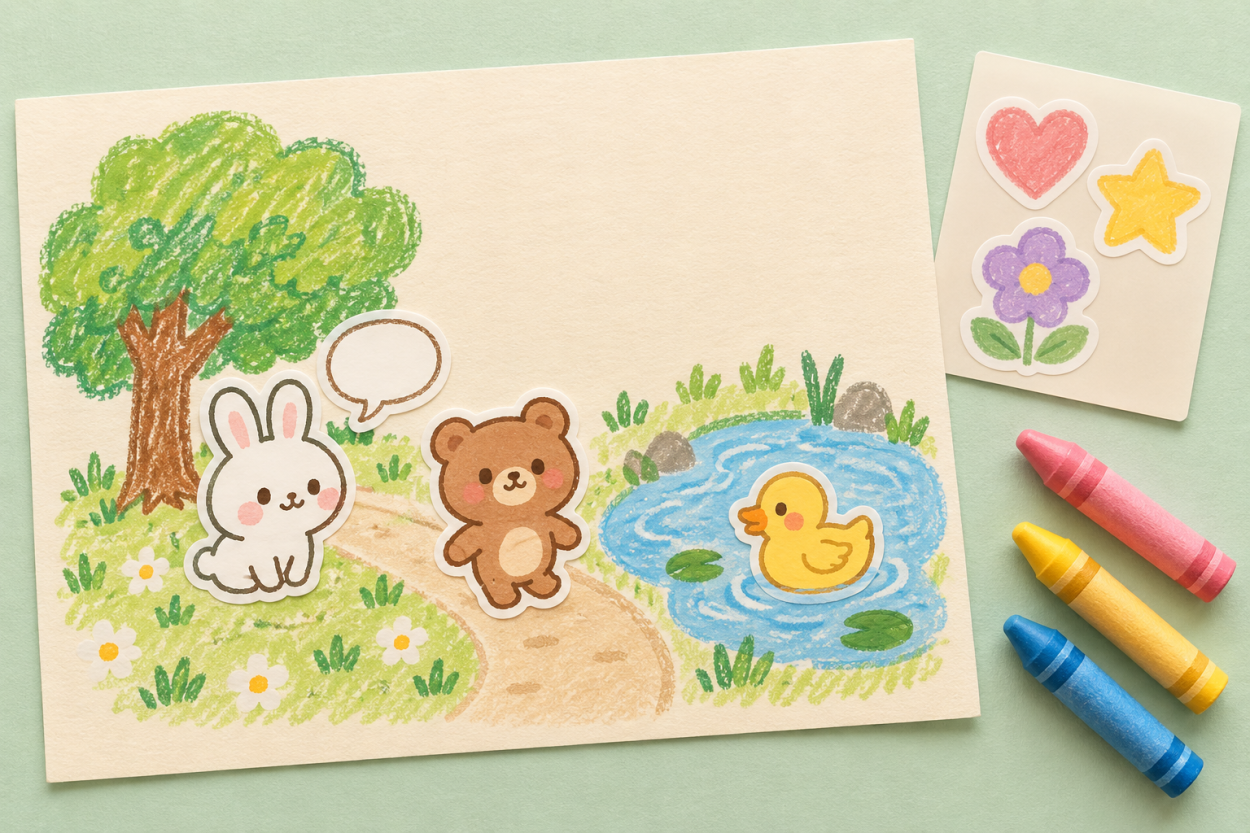
Give your child a blank sheet of paper and a selection of character stickers.
Ask them to choose a few characters and arrange them on the page. They might create a scene in a park, a café, a forest, or an imaginary town.
Once the stickers are placed, encourage them to invent a story about what’s happening.
Younger children can tell the story aloud while an adult writes it down. Older children can add speech bubbles, dialogue, or a short comic.
This activity works particularly well with stickers featuring animals, food, and expressive characters.
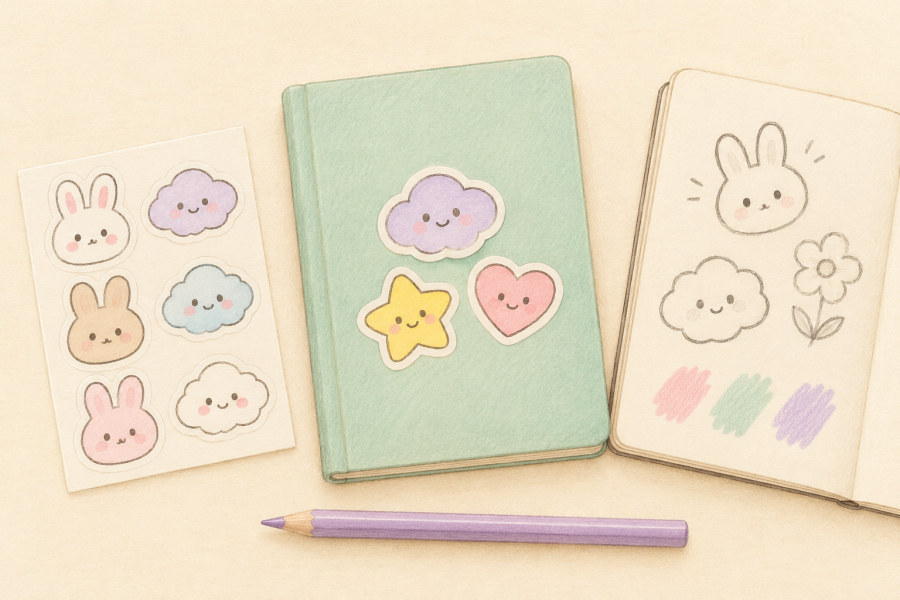
2. Make a Kawaii Bookmark
Cut a strip of sturdy cardstock into a bookmark shape.
Let your child decorate it with stickers, coloured pencils, and a handwritten name or message.
They might choose a favourite character, create a pattern with tiny stickers, or make several bookmarks for different books.
If the bookmark will be used frequently, cover it with clear protective film after decorating.
Avoid bulky puffy stickers, which can make the bookmark uncomfortable to use inside a book.
3. Design a Mini Sticker Town
Draw a few simple roads on a large sheet of paper.
Add houses, a school, a park, or little shops using coloured pencils.
Children can then use kawaii stickers to populate their town with characters, animals, and objects.
A smiling cupcake might become the owner of a bakery. A tiny cat could live beside the park.
You can extend the activity by asking your child to name the shops, invent a map, or explain what happens in the town.
4. Make Personalized Greeting Cards
Fold a piece of cardstock in half to create a card.
Choose stickers that match the occasion, such as cakes for birthdays, flowers for thank-you notes, or animals for a friendly greeting.
Children can arrange the stickers on the front and write or draw a message inside.
This is a manageable project for making cards for grandparents, teachers, or friends.
For younger children, an adult can prepare the folded cards and help with any cutting.
5. Create a Sticker Matching Game
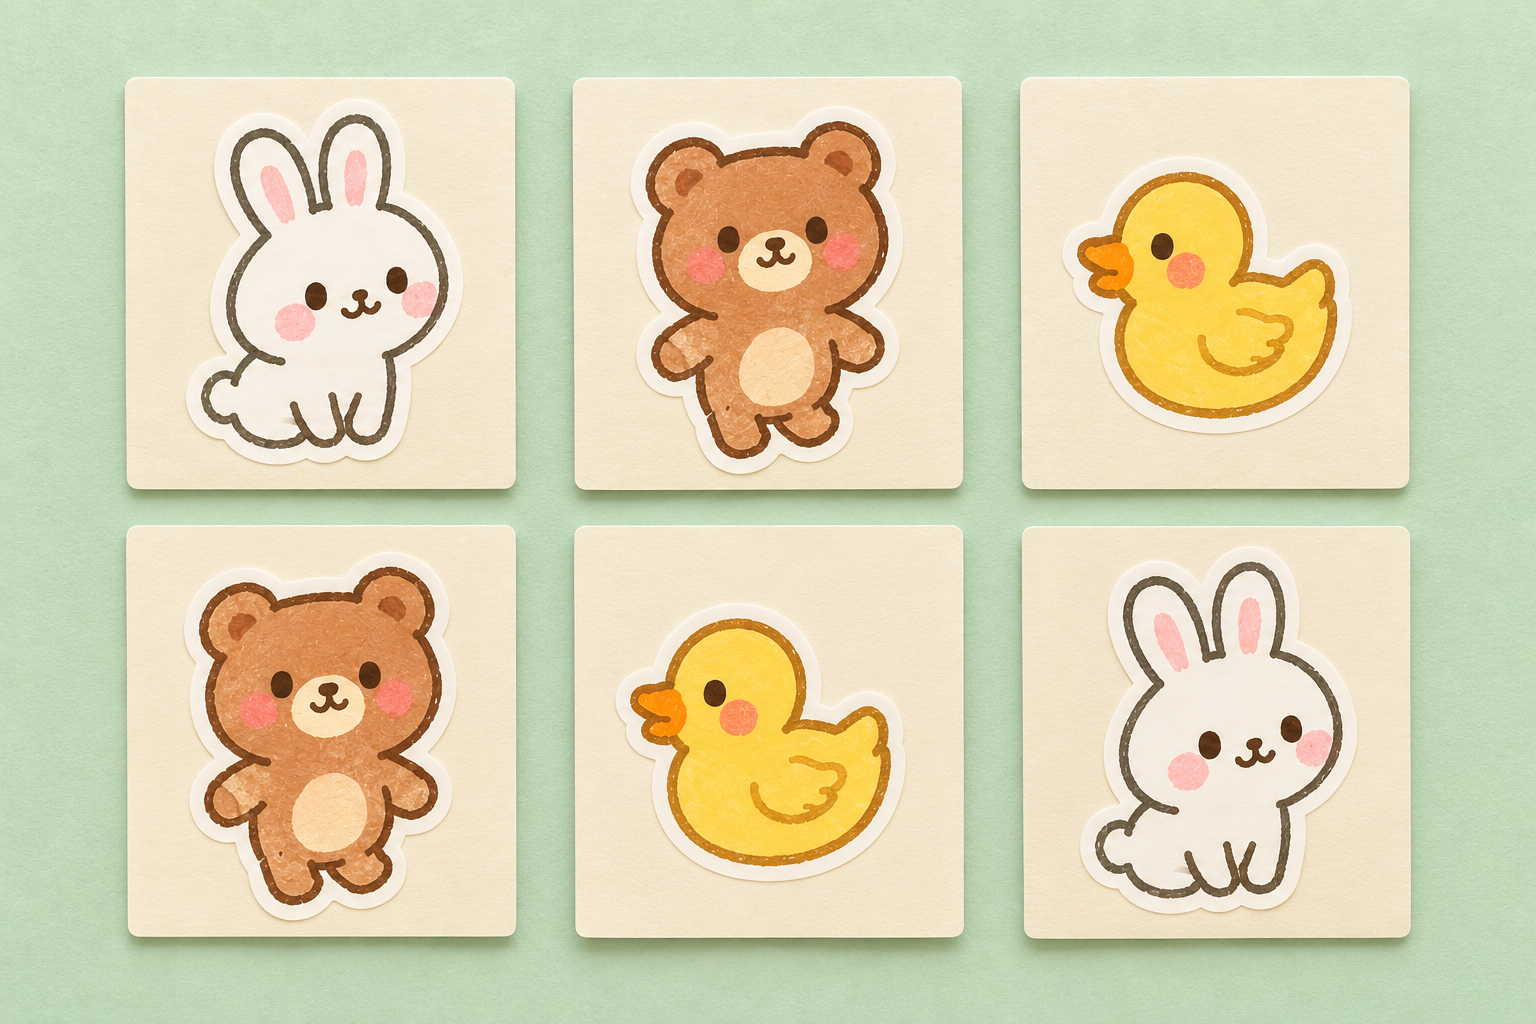
For this activity, you’ll need pairs of identical stickers.
Place one sticker from each pair on separate pieces of cardstock. Make sure the cards are the same size and have matching backs.
Mix the cards and place them face down.
Players take turns turning over two cards, trying to find matching designs.
For younger children, begin with just a few pairs. Add more as they become familiar with the game.
You can also use stickers with related themes, such as matching an animal to its food, although this changes the game from identical pairs to association.
6. Decorate a Reading or Activity Log
Create a simple chart with spaces for dates, book titles, or completed activities.
Children can add a small sticker whenever they finish a book, practise an instrument, or complete another activity they want to track.
The chart doesn’t have to be a reward system. It can simply be a colourful record of what they’ve done.
Let children choose their own stickers and decide where to place them.
This can make the log feel like a personal project rather than another assignment.
7. Build a Kawaii Collage
Give your child a sheet of paper, stickers, scraps of coloured paper, and a few magazine cutouts.
They can create a collage around a favourite theme, such as animals, sweets, outer space, or an imaginary garden.
Try encouraging them to use different sizes and textures.
For example, they could create a paper landscape and add character stickers as the finishing details.
The result can be displayed on a bedroom wall or kept in a craft folder.
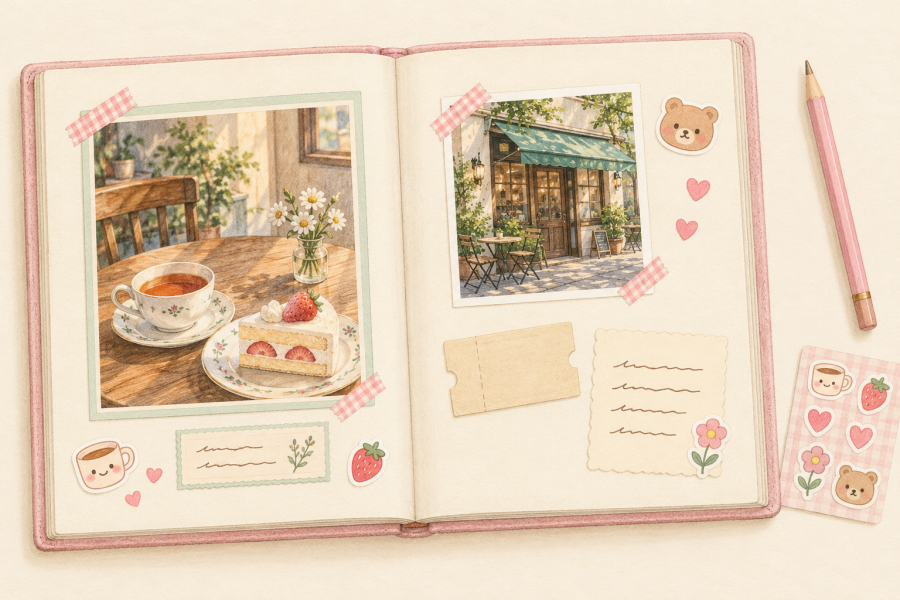
8. Make a Sticker Travel Journal
A small notebook can become a journal for outings and family trips.
After visiting a museum, park, restaurant, or other destination, children can draw something they remember and add a few stickers.
Older children might include a sentence about their favourite part of the day.
You can also add small keepsakes, such as a ticket stub or a printed photograph.
This works especially well for holidays because each page becomes a record of a different experience.
For a more detailed memory-keeping project, my article on scrapbooking with kawaii stickers offers ideas for combining photographs, souvenirs, and decorations.
Choosing Stickers for Different Ages
For younger children, choose stickers that are large enough to handle comfortably and easy to peel from their backing.
Very small stickers can be frustrating for little fingers and may pose a choking hazard for young children. Follow product age recommendations and supervise as appropriate.
Older children may enjoy smaller designs, detailed character sheets, and themed collections.
Paper stickers are suitable for most of the activities above. For water bottles or other frequently handled objects, check whether the stickers are designed for those surfaces.
It’s also worth choosing a few designs based on your child’s interests rather than buying a large assortment they may not use.
Keep Craft Supplies Simple
A small craft box can hold sticker sheets, paper, crayons, glue sticks, and a pair of child-appropriate scissors.
You can separate unused stickers into envelopes or clear sleeves to prevent them from getting bent or lost.
If you need more storage ideas, my guide to organizing kawaii stickers explains several inexpensive options.
Keep a few sticker sheets available for spontaneous activities, and store the rest until they’re needed.
More Than Just Decorating
Kawaii stickers can be used for storytelling, handmade gifts, simple games, and recording family memories.
Some activities take only ten minutes, while others can become longer projects that children return to over several days.
The important part is giving children room to make their own choices, experiment with the materials, and create something they enjoy.